Tools
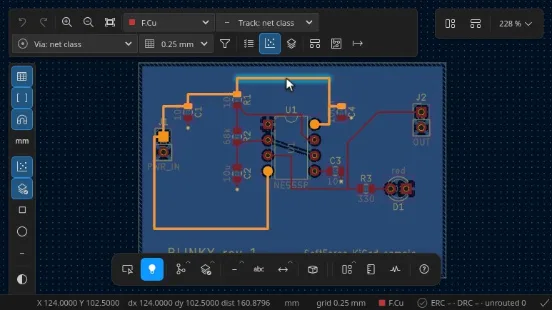
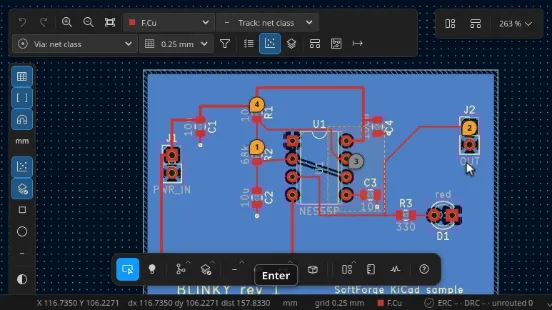
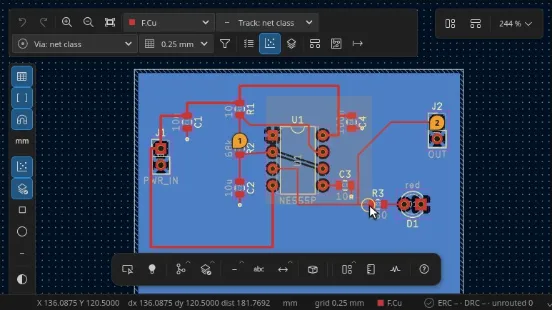
Every tool of the board and schematic editors with its default shortcut and the keys it takes while it runs.
Every tool of the board and schematic editors with its default shortcut, what it does and the keys it
takes while it runs. Selecting a tool shows the same information on its tool card (see
Tool cards); ? shows the card of the active tool. Shortcuts follow the
Hotkeys dialog, so rebinding a key changes the card too; this page lists the defaults.
Select and edit#
| Tool | Shortcut | Editor | Description | Keys while it runs | Clip |
|---|---|---|---|---|---|
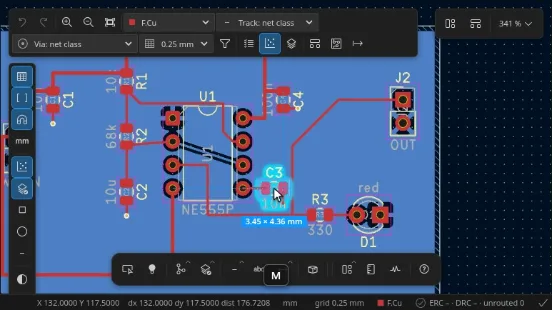
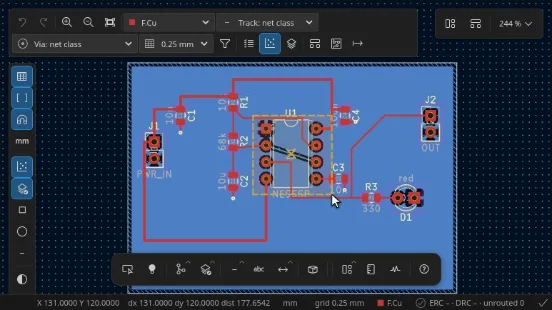
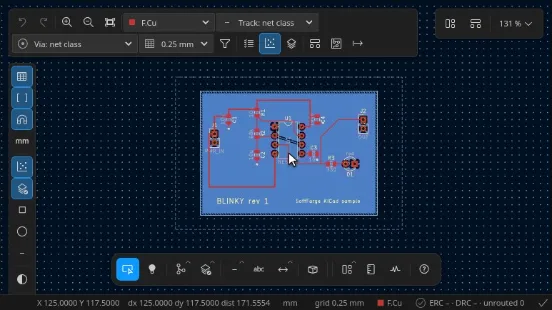
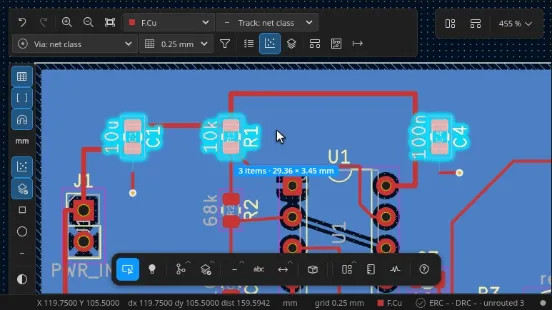
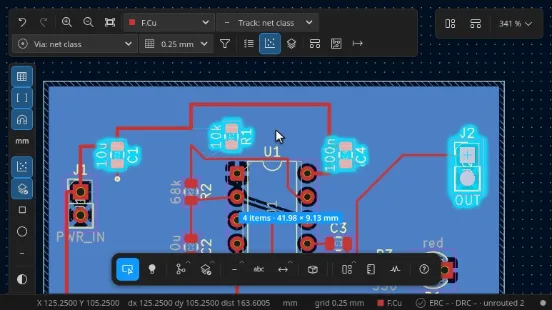
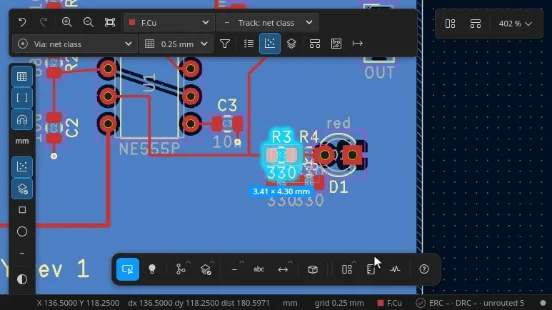
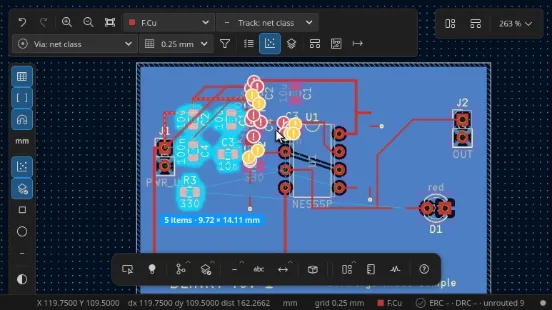
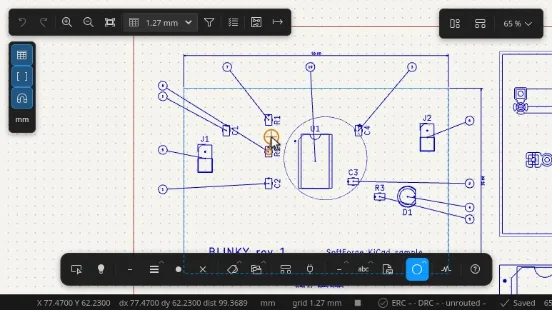
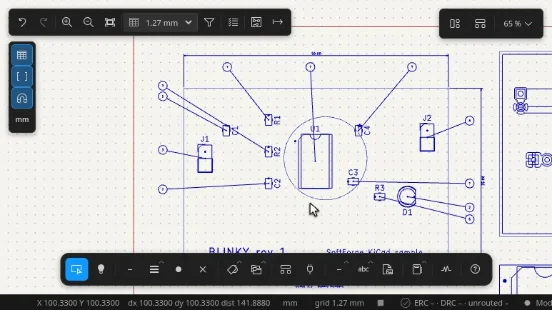
| Select | — | both | Click an item to select it, drag a box to select several (left to right: enclosed, right to left: touching); on the board, dragging a track, arc or via keeps it connected, its neighbours following as in the Drag Track tool. Selected items move, rotate, flip and delete with single keys. | M move R · Shift+R rotate F flip to the other side (board) Del delete E properties Ctrl+D duplicate | poster |
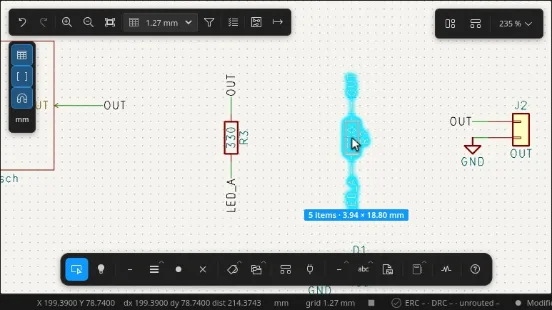
| Move | M | both | Moves the selection with the cursor from its anchor; click to drop it. Snaps to the grid and to pads. | R rotate while moving F flip while moving (board) X mirror while moving (schematic) Tab wires: rubber band / re-route / detach (schematic) T tracks: rubber band / re-route / rip up / keep (board) Esc cancel and put it back | poster |
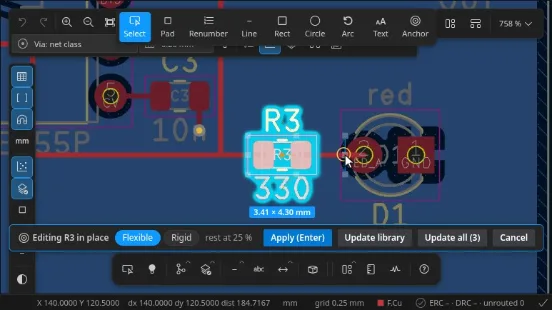
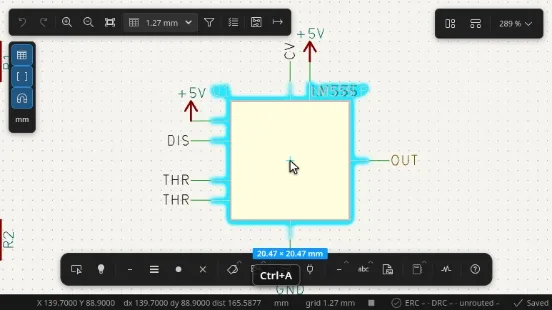
| Isolation Mode (Edit in Place) | — | both | Double-click a symbol or footprint body to edit its pins or pads, graphics, labels and group box where it stands while the rest dims. Leaving keeps a local override or updates the library and every instance. | Double-click enter on the body Enter apply (keep the local override) Esc cancel the session Ctrl+Shift+A autoposition: next preset L lock / unlock the selected label Shift+L rigid / flexible Shift+click leave | poster |
Routing#
| Tool | Shortcut | Editor | Description | Keys while it runs | Clip |
|---|---|---|---|---|---|
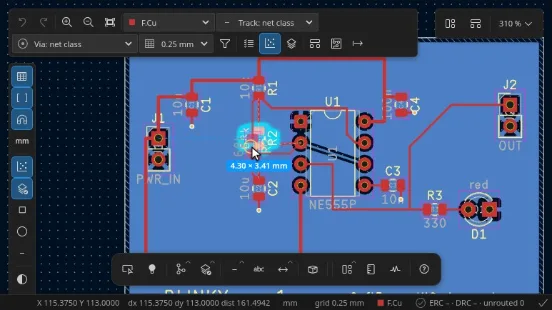
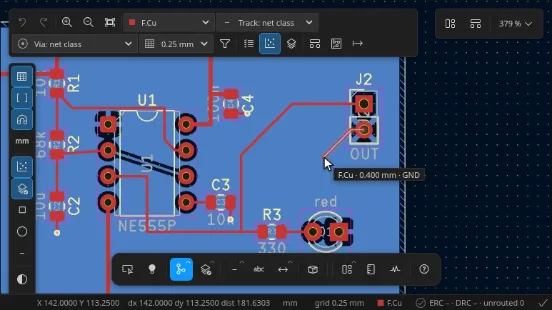
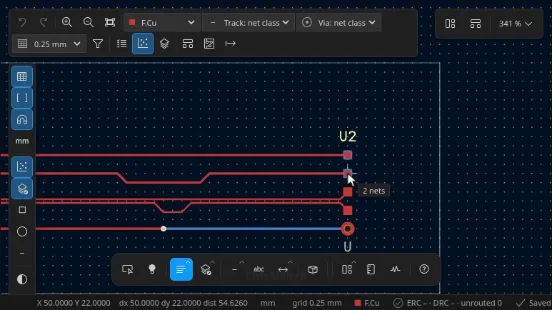
| Route Single Track | X | board | Click a pad, via or track end and move: the track follows the line mode with the net class width and walks around (or shoves) other copper. Click to fix corners; a pad of the same net finishes. | / switch posture V place a via and switch layer Backspace undo the last segment W · Shift+W next / previous track width End finish the track Shift+Space line mode 45° / free / 90° | poster |
| Route Differential Pair | 6 | board | Click a pad of either net of a pair: both traces follow the cursor with the class width and gap, corners keep the gap. Clicking a pad of either net leads both out onto the target pads. | / switch posture V place a via pair and switch layer Shift+V via pair side by side / staggered Backspace undo the last segment End finish at the cursor | poster |
| Multi-route (bus) | Ctrl+Shift+B | board | Click the starts of several nets (or select tracks), then route them together as a bus that keeps its spacing; the end fans out to each net’s nearest pad. | Enter start routing the bus , · . narrower / wider spacing Tab rotate the lane assignment V staggered via array Backspace undo the last segment End finish and fan out D drag a routed bus: its parallel tracks move together, pitch kept | poster |
| Fan-out | — | board | Select footprints (or click one) to open the Fan-out dialog: dog-bone or via-in-pad escapes with a preview; skipped pads are marked with the reason. | Click fan out a footprint Shift+click add footprints to the fan-out | poster |
| Gloss Tracks | Ctrl+Alt+G | board | Opens the Gloss dialog on the selected tracks (or the whole board): merges collinear segments, removes stubs and loops, chamfers 90° corners, with a preview. | Ctrl+Alt+G gloss the selected tracks (or the board) Enter apply in the dialog Esc close without changes | poster |
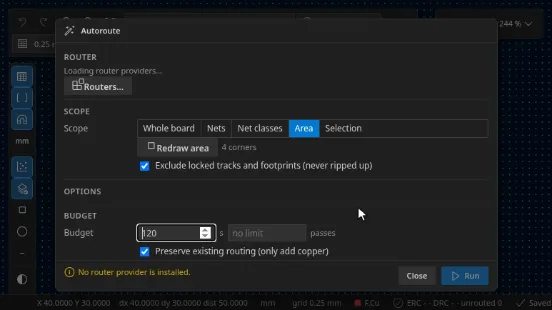
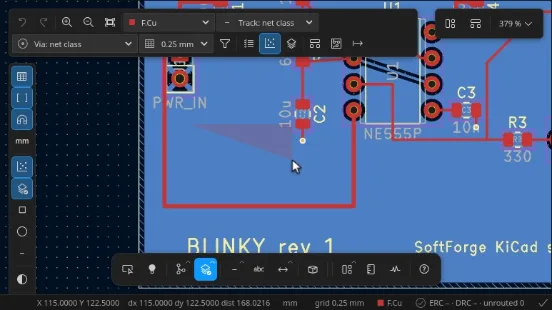
| Route Area | — | board | Draws the area the autorouter may route in (Autoroute dialog ▸ Scope ▸ Area): drag a rectangle, or click the corners of a polygon. The dialog reopens with the area. | Drag rectangle Click · Double-click polygon corners, close Backspace take back the last corner Esc cancel | poster |
| Drag Track | D | board | D (45°), G (free angle) or a mouse drag from the select tool drags the segment, corner, arc, via or selected bus under the cursor; its neighbours stay attached and, in shove mode, other copper moves out of the way. Shift+D / G / B / U / T / Y drag the run, move the net, break, convert to arc, retrace and re-route; Shift+Space rounds the corners. | Shift+R conflict mode: ignore / stop / walkaround / hug / shove / shove + hug G free angle for this drag Space · Shift+Space corner posture · rounded corners Shift+D · Shift+G drag the run · move the net Shift+B · Shift+U break · convert to arc Shift+T · Shift+Y retrace · re-route over existing Click · Enter drop | poster |
| Drag Differential Pair | D | board | D on a coupled segment of a differential pair drags both traces together and keeps the gap. | D drag the pair Click · Enter drop Esc cancel | poster |
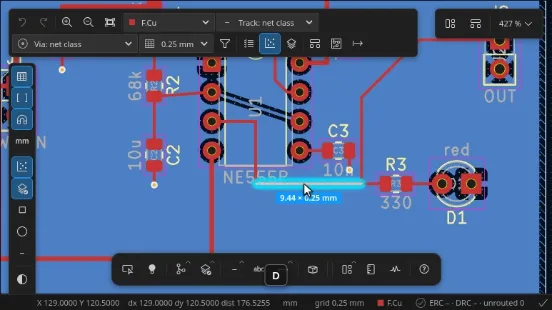
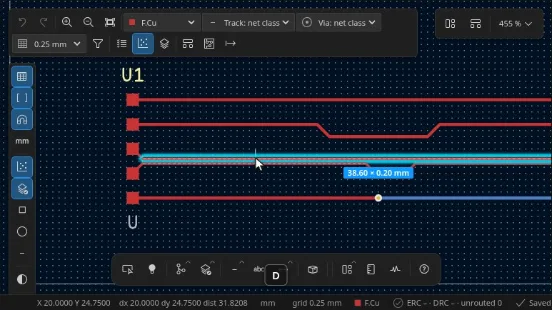
Length tuning#
| Tool | Shortcut | Editor | Description | Keys while it runs | Clip |
|---|---|---|---|---|---|
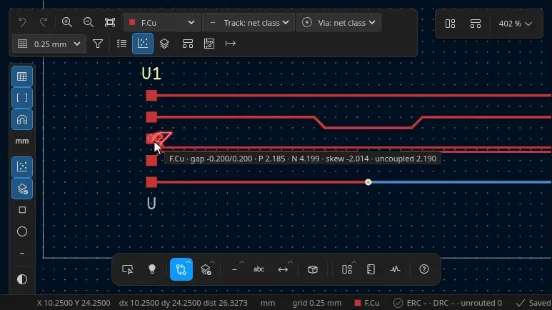
| Tune Length | 7 | board | Click a straight segment and move along it: a meander grows until the net reaches its target length from the matched group; the readout shows current / target / Δ. | 1 · 2 spacing + / − 3 · 4 amplitude + / − S pattern style R 45° / round corners Ctrl+L all tuning settings Enter commit | poster |
| Tune Differential Pair Length | 8 | board | Tunes both traces of a differential pair together to the pair’s target length, keeping the gap inside the pattern. | 1 · 2 spacing + / − 3 · 4 amplitude + / − S pattern style Enter commit Esc cancel | poster |
| Tune Differential Pair Skew | 9 | board | Grows the shorter trace of a pair until the skew is within the group’s tolerance. | 1 · 2 spacing + / − 3 · 4 amplitude + / − Enter commit Esc cancel | poster |
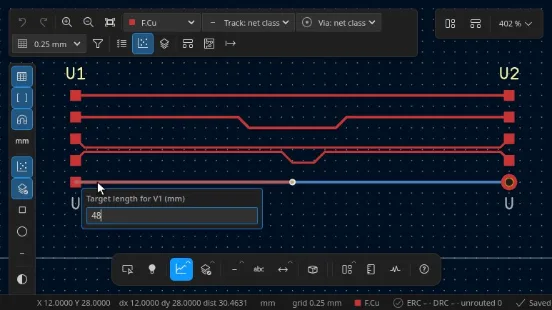
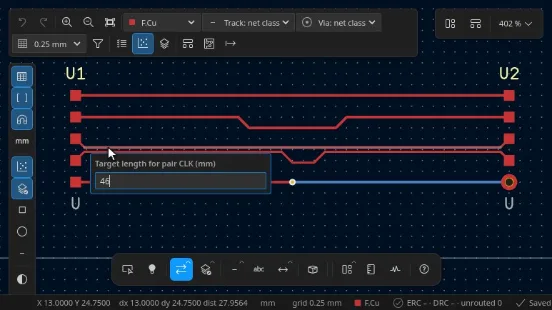
Vias#
| Tool | Shortcut | Editor | Description | Keys while it runs | Clip |
|---|---|---|---|---|---|
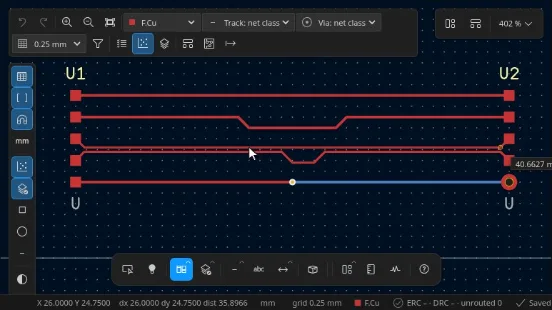
| Add Via | Ctrl+Shift+V | board | Click to place a stand-alone through via; its net comes from the copper under the cursor and its size from the net class or the action bar. | Click place a via Esc back to select | poster |
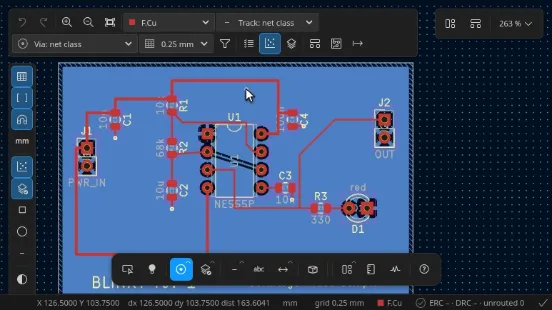
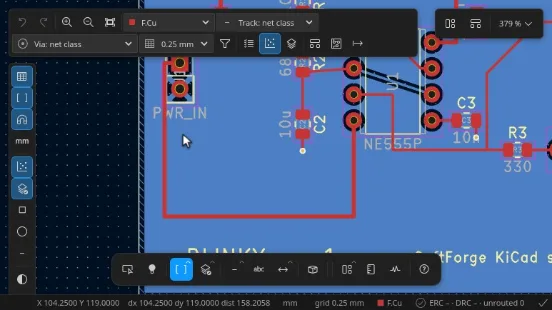
| Via Stitching | — | board | Select a copper zone or click the corners of an area: the dialog sets pitch, pattern and via size and previews vias that keep clear of other copper. | Click add an outline corner Backspace remove the last corner Enter open the stitching dialog | poster |
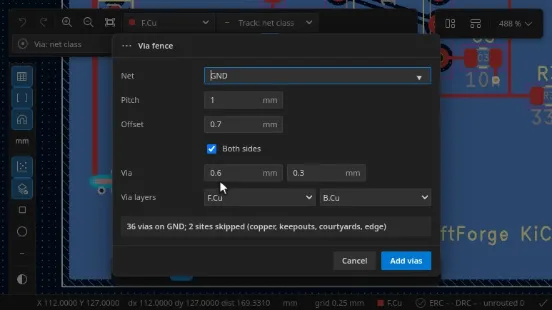
| Via Fence | — | board | Select a track chain (or click tracks, or draw a path) and press Enter: a row of vias follows the track at the chosen pitch and offset. | Click pick a track Shift+click add tracks Enter open the fence dialog | poster |
Zones#
| Tool | Shortcut | Editor | Description | Keys while it runs | Clip |
|---|---|---|---|---|---|
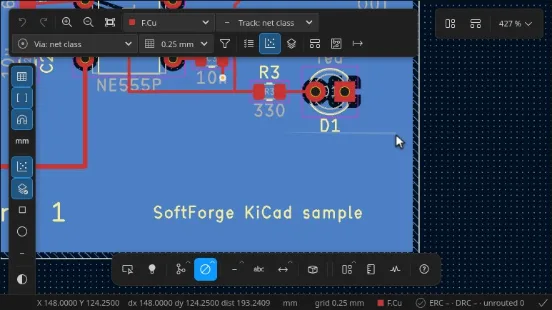
| Add Filled Zone | Ctrl+Shift+Z | board | Click the outline corners and close on the first point: the zone properties dialog asks for the net, layers, clearance and thermal reliefs. B fills every zone. | Backspace remove the last corner End close the outline B · Ctrl+B fill / unfill all zones | poster |
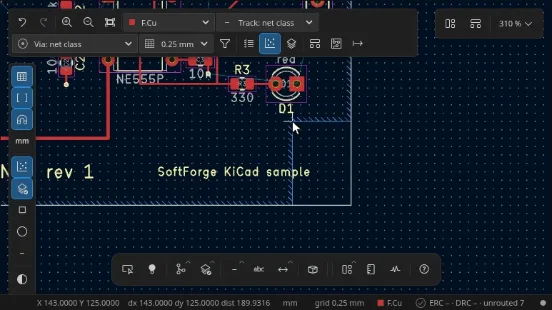
| Add Rule Area | Ctrl+Shift+K | board | Draws a rule area (keep-out) the same way as a zone: no tracks, vias, pads or pours inside, as chosen in its properties. | Backspace remove the last corner End close the outline | poster |
| Add a Zone Cutout | Shift+C | board | Draws a polygon over the selected zone and removes that area from its outline. A cutout wholly inside the zone becomes a copper keep-out rule area, which fills the same way. | Click add a corner Backspace remove the last corner End close the cutout B refill the zones | poster |
| Add a Similar Zone | Ctrl+> | board | Draws a new zone with the net, layers, priority, clearance and fill settings of the selected zone, without the properties dialog. | Click add a corner Backspace remove the last corner End close the outline | poster |
Placement#
| Tool | Shortcut | Editor | Description | Keys while it runs | Clip |
|---|---|---|---|---|---|
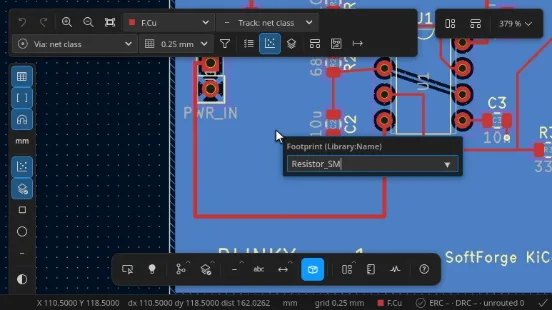
| Add Footprint | A | board | Pick a footprint from the libraries (search by name or keyword) and click to place it; it keeps following the cursor for the next copy. | R rotate F flip to the other side Ctrl+A Add component quick action Esc stop placing | poster |
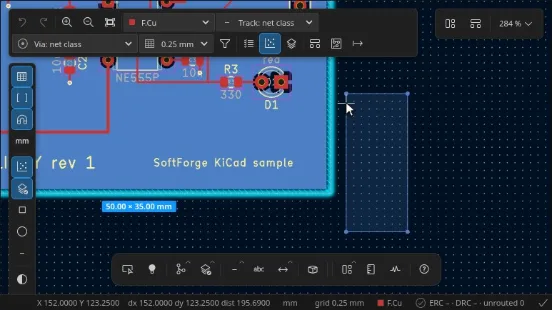
| Room | — | board | Drag inside a room to move it together with its parts; drag on empty board to draw a new room (a room: rule area on the Rooms layer). | Drag move a room with its parts, or draw a new one Esc cancel | poster |
| Swap Pins | — | board | Click two pads of the same swap group (Swap.Groups): the pads trade nets, their tracks keep their nets and move to the pad that now carries them, and the schematic wiring of the two pins follows, so Update PCB stays empty. | Click · Click first pad, then the pad to swap with Shift+click rip up the copper on the pads instead Ctrl+click swap outside a group Esc cancel | poster |
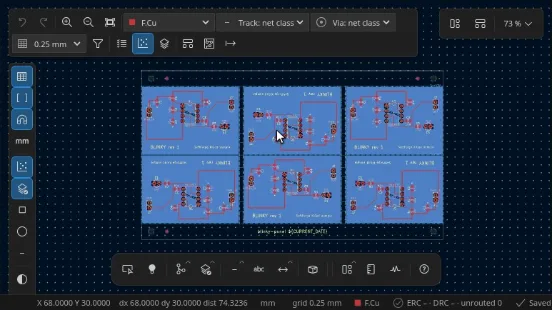
| Panel Instance | — | board | In the panel editor, drag a board of the panel to move it (0.1 mm steps; a grid becomes a manual layout keeping the positions) and press R over a board to turn it by 90° or F to flip it to the other side (mirrored instance); the panel board is regenerated. | Drag move a board of the panel R turn the board under the cursor by 90° F flip the board under the cursor to the other side Esc cancel | poster |
| Draw Height Envelope | — | board | Drag a rectangle (or click a polygon and press Enter) to add a height envelope: parts on that side inside it must stay under the height limit set in the MCAD panel; the 3D clearance check and DRC flag the ones that do not. | Drag rectangle envelope Click polygon corner Enter close the polygon Backspace remove the last corner Esc cancel | poster |
| Place Reference Solid | — | board | Move an imported enclosure (reference solid) over the board: its top-view bounds follow the cursor, R turns it by 90° and a click drops it; the 3D clearance check reruns at the new position. | Click drop the solid here R turn it by 90° Esc cancel | poster |
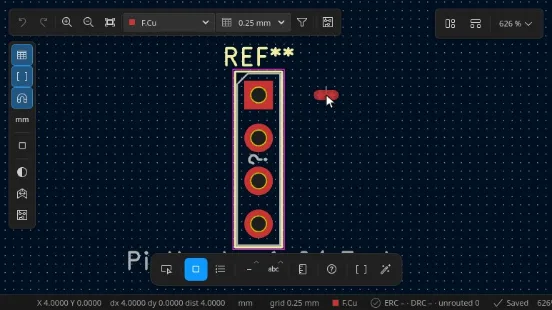
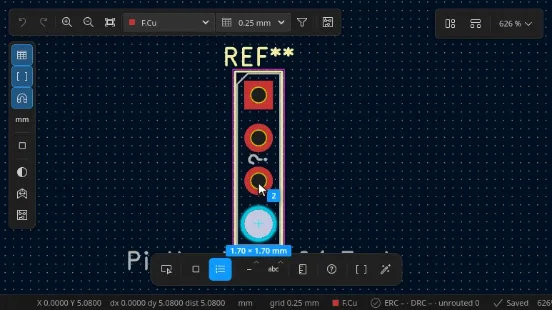
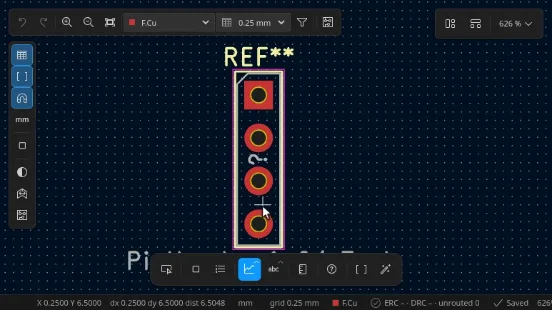
| Add Pad | — | board | In the footprint editor, click to drop a pad of the type, shape and size set in the Footprint tab; the next pad gets the next number. | R rotate the pad Click place, then the next number Esc stop placing | poster |
| Renumber Pads | — | board | Click pads in the order they should be numbered; Enter or a double-click applies the numbers from the start number in the Footprint tab. | Click next pad in the sequence Enter apply Backspace take back the last pad Esc drop the sequence | poster |
| Align | — | board | Lines the selected items up on their left, right, top or bottom edges or on a common centre. Locked items stay put and become the line the others align to. | Arrange ▸ Align left / right / top / bottom / centre X / centre Y Ctrl+Z undo the whole alignment | poster |
| Distribute | — | board | Spaces the selected items evenly between the two outer ones, by equal gaps or equal centre spacing. Locked items are left out. | Arrange ▸ Distribute horizontally / vertically, gaps or centres Ctrl+Z undo | poster |
| Create Array | — | board | Copies the selection on a grid (columns × rows with a pitch) or on a circle, renumbering the copies after the highest reference. Locked items are not copied. | Ctrl+T Create Array dialog Esc close the dialog | poster |
| Pack Footprints | — | board | Packs the selected footprints into a compact block at the selection’s top-left, largest first (Pack and Move Footprints). Locked footprints stay where they are. | P pack the selection M then move the block where it goes Ctrl+Z undo the pack | poster |
Board graphics#
| Tool | Shortcut | Editor | Description | Keys while it runs | Clip |
|---|---|---|---|---|---|
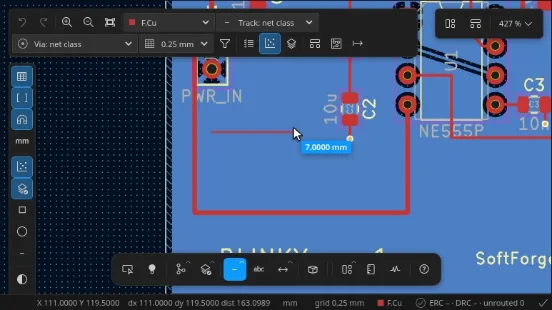
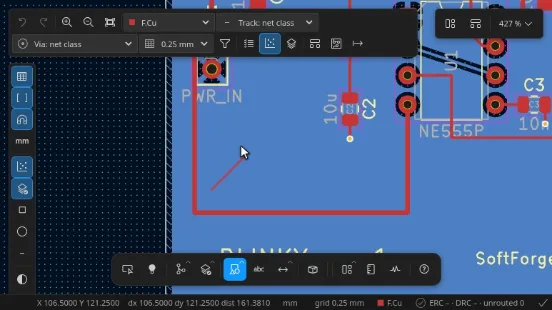
| Draw Lines | Ctrl+Shift+L | board | Click to chain line segments on the active layer (Edge.Cuts for the outline); double-click or End ends the chain. | Backspace delete the last point End finish Shift+Space line mode 45° / free / 90° | poster |
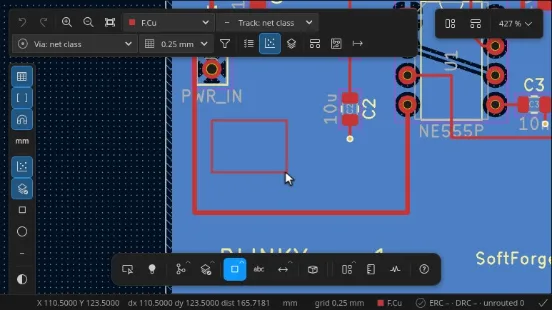
| Draw Rectangles | Ctrl+Shift+R | board | Click two opposite corners to draw a rectangle on the active layer. | Click · Click first and second corner Esc cancel | poster |
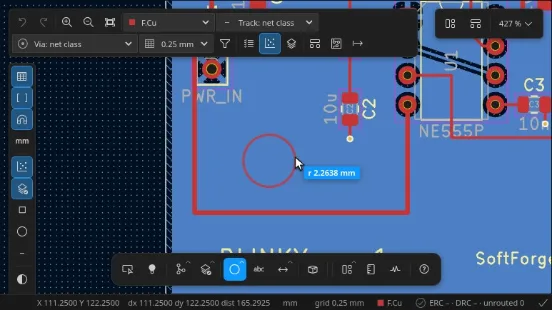
| Draw Circles | Ctrl+Shift+C | board | Click the centre, then a point on the circle. | Click · Click centre and radius Esc cancel | poster |
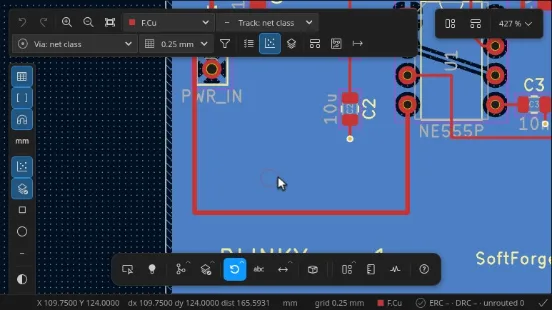
| Draw Arcs | Ctrl+Shift+A | board | Click the centre, the start and the end of the arc. | / switch the arc direction Backspace delete the last point | poster |
| Draw Polygons | Alt+P | board | Click the corners of a filled graphic polygon and close it on the first point. | Backspace delete the last point End close the polygon | poster |
| Draw Bézier Curve | — | board | In the footprint editor, click the start, the end and the two control points of a Bézier curve on the active layer. | Click start, end, control 1, control 2 Backspace take back the last point Esc cancel | poster |
Text#
| Tool | Shortcut | Editor | Description | Keys while it runs | Clip |
|---|---|---|---|---|---|
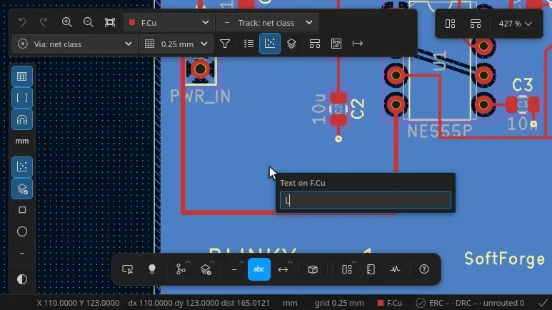
| Add Text | Ctrl+Shift+T | board | Click where the text goes and type it; size and thickness follow the layer defaults of Board Setup. | R rotate before placing Enter accept the text | poster |
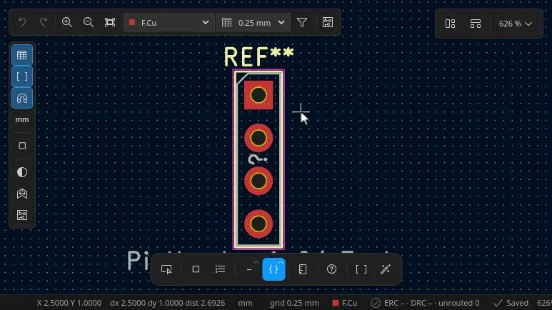
| Add Text Box | — | board | In the footprint editor, click two corners, then type the text of a text box on the active layer. | Click first corner, then the opposite corner Enter place the text Esc cancel | poster |
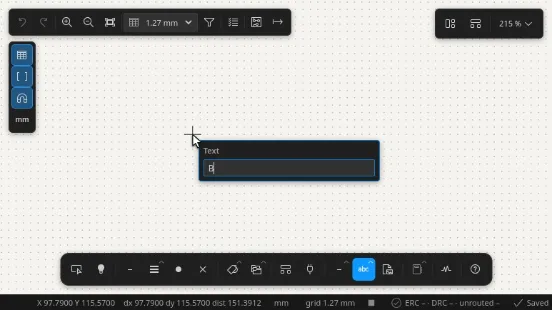
| Add Text | T | schematic | Click where the note goes and type it; text has no connectivity. | R rotate before placing Enter accept the text | poster |
| Add Text Box | — | schematic | Click two corners, then type: the text wraps inside the box, with an optional border and fill. | Click · Click corners Esc cancel | poster |
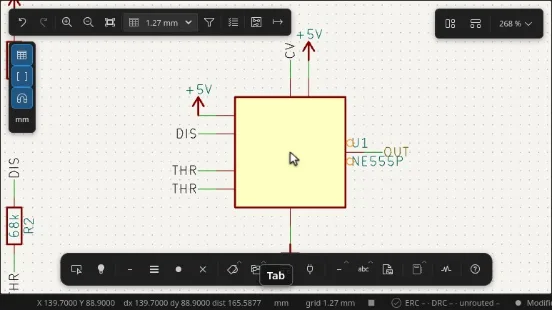
| Edit Text in Place | F2 | both | Edits a label, field or text over the canvas, scaled and turned like it, with text variables shown resolved. Tab moves to the next field of the same symbol or footprint. | F2 · Double-click edit the selected label U · V · F Reference / Value / Footprint (schematic) Tab · Shift+Tab next / previous field Enter commit (one undo step) Esc cancel | poster |
| Autoposition Labels | — | both | Click a symbol or footprint to place its free labels at one of Altium’s eight positions around its group box or at the default side. Locked labels stay where they are. | Click place the labels of a symbol / footprint Tab · Shift+Tab next / previous position Enter place the labels of the selection Ctrl+Shift+A next position in isolation mode Esc back to select | poster |
| Label Anchor | — | both | Click a label of a symbol or footprint, then one of the nine points of its group box: the label keeps its offset to that point however the group moves, turns or is resized. | Click · Click a label, then a box point Esc pick another label | poster |
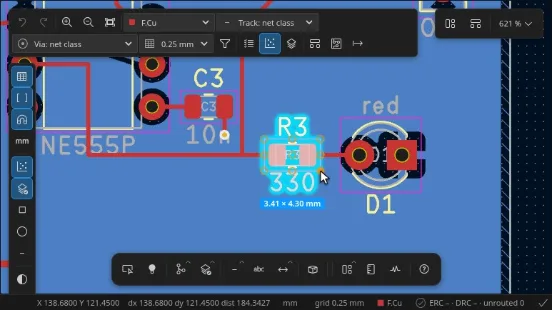
Dimensions#
| Tool | Shortcut | Editor | Description | Keys while it runs | Clip |
|---|---|---|---|---|---|
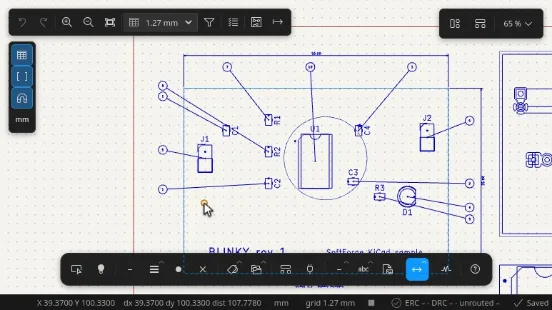
| Add Aligned Dimension | Ctrl+Shift+H | board | Click two points, then move to offset the dimension line; the value follows the board units. | Click ×3 start, end, offset Backspace delete the last point | poster |
| Add Orthogonal Dimension | — | board | Like the aligned dimension, but measured horizontally or vertically, whichever way you pull the offset. | Click ×3 start, end, offset Backspace delete the last point | poster |
| Add Leader | — | board | Click the point to call out, then where the text goes, and type the note. | Click · Click arrow point and text Esc cancel | poster |
| Add Center Dimension | — | board | Click a centre and drag out the size of the cross marking it (holes, arcs). | Click · Click centre and size Esc cancel | poster |
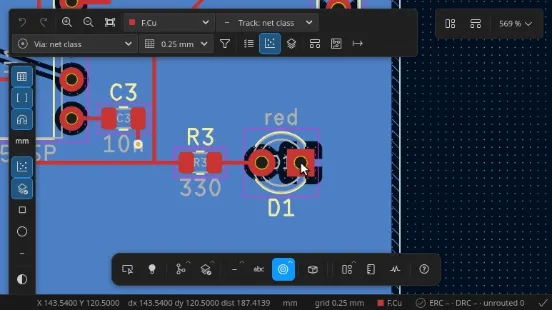
Measure#
| Tool | Shortcut | Editor | Description | Keys while it runs | Clip |
|---|---|---|---|---|---|
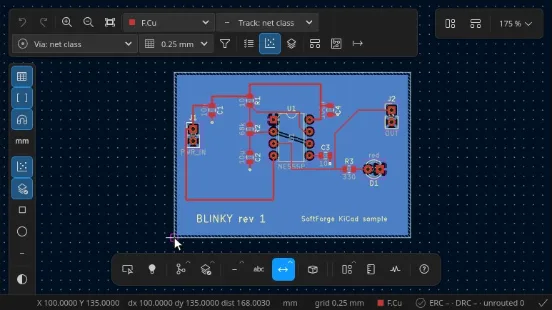
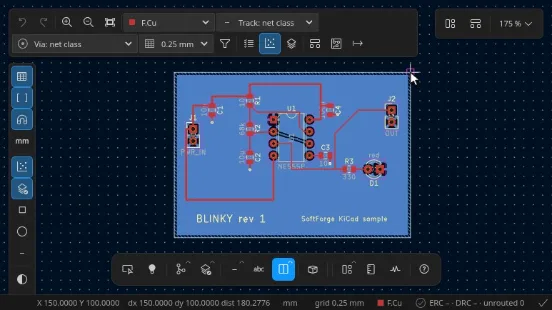
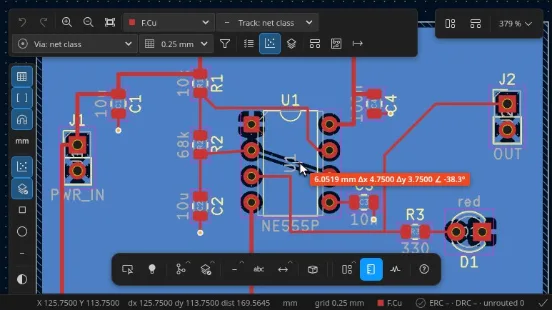
| Measure | Ctrl+Shift+M | board | Click two points to read the distance, ΔX, ΔY and angle; nothing is added to the board. | Click · Click start and end point Ctrl+U switch units Esc clear the ruler | poster |
Schematic wiring#
| Tool | Shortcut | Editor | Description | Keys while it runs | Clip |
|---|---|---|---|---|---|
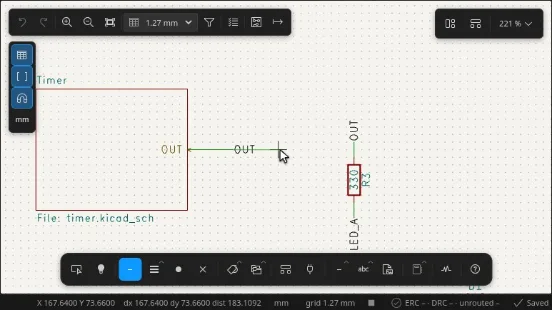
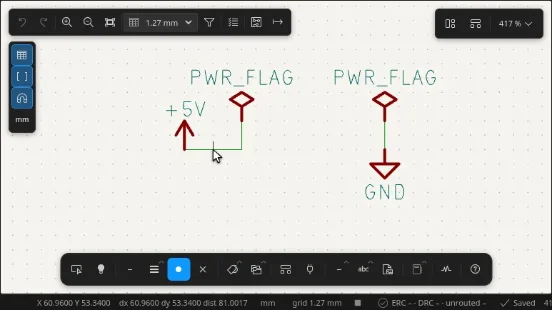
| Add Wire | W | schematic | Click a pin and draw wire segments; clicking another pin or wire ends the wire and adds junctions where needed. | / switch segment posture Backspace undo the last segment End finish Shift+Space line mode 90° / 45° / free | poster |
| Add Bus | B | schematic | Draws a bus the same way as a wire; label it (D[0..7]) so wires can join through bus entries. | / switch segment posture Backspace undo the last segment End finish | poster |
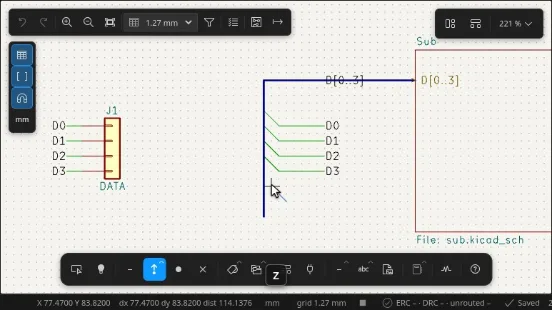
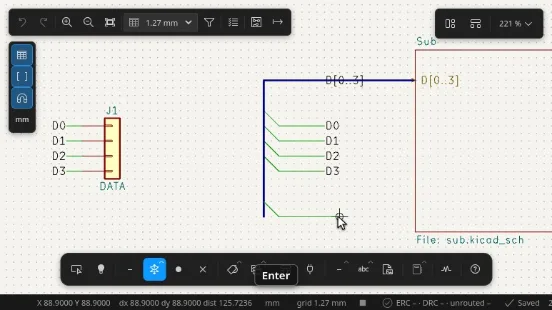
| Add Wire to Bus Entry | Z | schematic | Places a 45° wire-to-bus entry: on a bus it slides along the bus under the cursor and leans to the cursor’s side; a wire with a member label (D3) on its free end joins that member of the bus. | Click place the entry R · / flip it along the bus Esc back to select | poster |
| Unfold from Bus | C | schematic | Click a labelled bus (D[0..7]) and pick a member net: the bus entry, a wire and the member’s label follow the cursor, a click places all three in one step. The first member without a label is offered first. | C unfold the bus under the cursor Enter accept the offered member Click place entry, wire and label Insert repeat with the next member Esc cancel | poster |
| Auto Wire | — | schematic | Click a pin and another pin: the wire is routed on the grid around symbols, pins and wires, crossing others only as the Wires panel’s crossing avoidance allows. Ctrl+click several pins and press Enter to connect them all, or click a bus to connect through a bus entry and a label. | Click start, then the pin to reach Ctrl+Click collect pins (multiple points) Enter connect the collected pins Shift+Space wire mode 90° / 45° / free / Auto Esc cancel | poster |
| Break Wire | — | schematic | Click a wire to split it into two wires that stay connected. Shift+click cuts a gap out instead (the net splits) and offers a label for the cut-off part. | Click split the wire here Shift+Click cut a gap, relabel Esc back to select | poster |
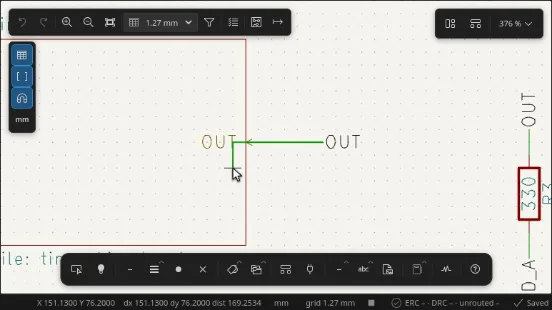
| Move Wire End | — | schematic | Click near the end of a wire, then click where it goes; a corner keeps the wire orthogonal unless the line mode is free. | Click pick the end, then drop it Esc put it back | poster |
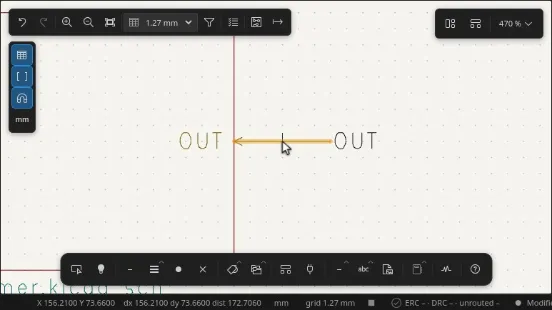
| Slide Segment | — | schematic | Click a wire segment and move it: it slides perpendicular to itself while its neighbours stretch, labels and bus entries follow and every connection is kept. | Click pick a segment, click to drop Esc cancel | poster |
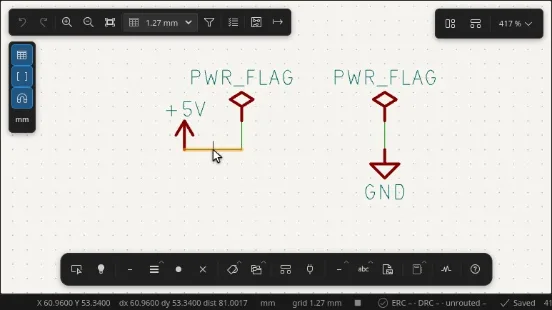
| Add / Remove Vertex | — | schematic | Click on a wire to add a vertex there, or click a corner where two wires meet to remove it (the wires become one). | Click add a vertex / remove a corner Shift+Click remove the vertex | poster |
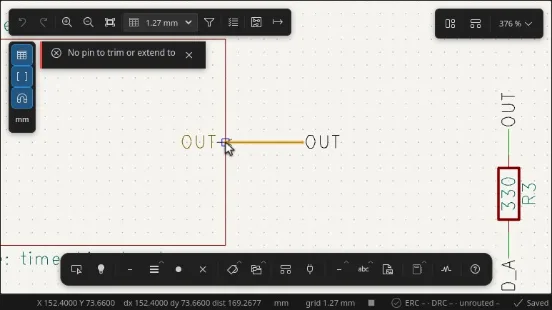
| Trim / Extend to Pin | — | schematic | Click near a dangling wire end: it runs on along its line to the pin, wire end or junction ahead, or an end overshooting a pin is cut back to it. | Click near the end to trim or extend | poster |
| Straighten Wire | — | schematic | Click a diagonal wire to make it orthogonal: an L that touches nothing else, or an Auto Wire route between the same ends. | Click a diagonal wire | poster |
| Align Wires | — | schematic | Click the reference wire, then the parallel wires to bring onto its line; their neighbours stretch and connections are kept. | Click reference, then wires to align Esc pick another reference | poster |
| Wire ↔ Bus | — | schematic | Click a wire to turn it into a bus, or a bus to turn it into a wire; the points stay where they are. | Click a wire or a bus | poster |
| Clean Up Wires | — | schematic | Merges collinear wires, removes zero-length and duplicate wires and junctions that join fewer than three connections, and adds missing junctions, on the selected wires or the whole sheet. Connectivity never changes. | Select wires first to limit it | poster |
| Duplicate with Connections | — | schematic | Copies the selected symbols together with the wires, junctions and labels hanging off their pins; Ctrl+drag a symbol does the same. | Ctrl+drag duplicate with connections Click place the copy Esc cancel | poster |
| Add Junction | J | schematic | Click a wire crossing to connect the wires there with a junction dot. | Click place a junction Esc back to select | poster |
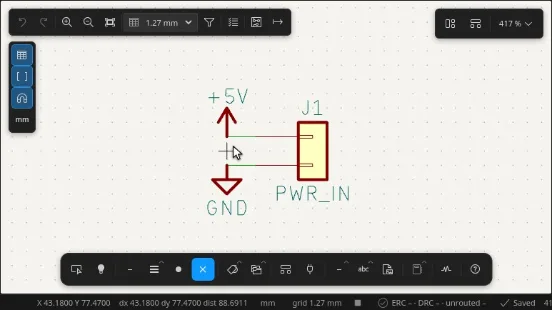
| Add No Connect Flag | Q | schematic | Click an unused pin to mark it as intentionally unconnected, so ERC does not report it. | Click flag a pin Esc back to select | poster |
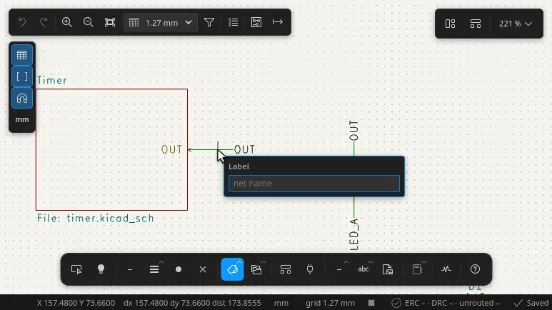
| Add Label | L | schematic | Names a net on this sheet: wires with the same label are connected without a drawn wire. | R rotate Enter accept the name | poster |
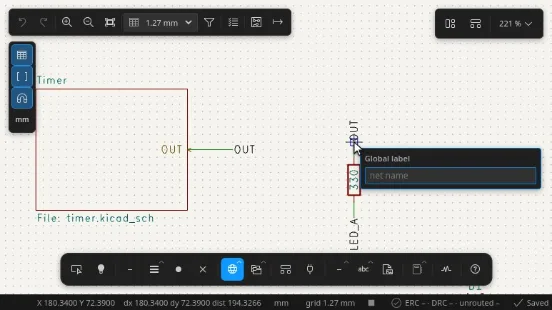
| Add Global Label | Ctrl+L | schematic | Names a net across every sheet of the project. | R rotate Enter accept the name | poster |
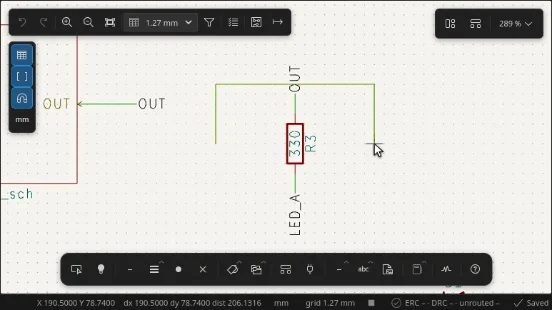
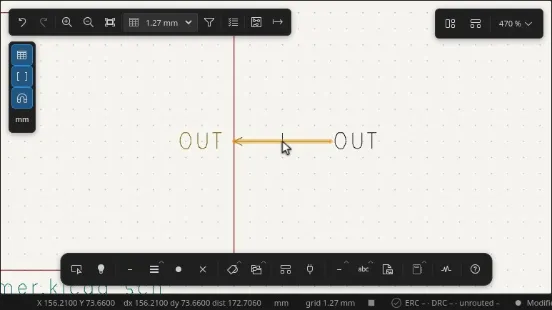
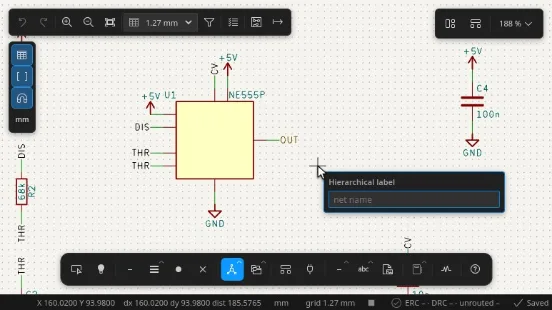
| Add Hierarchical Label | H | schematic | Connects a net of a sub-sheet to a sheet pin of the same name on its parent sheet. | R rotate Enter accept the name | poster |
Schematic placement#
| Tool | Shortcut | Editor | Description | Keys while it runs | Clip |
|---|---|---|---|---|---|
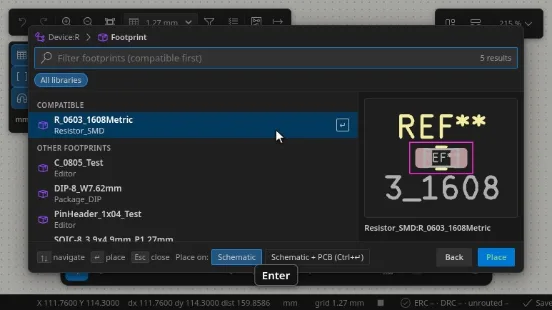
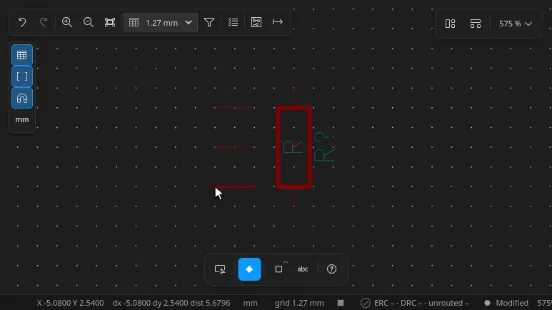
| Add Symbol | A | schematic | Pick a symbol (and its unit) from the libraries and click to place it; references are annotated when you place or with Annotate. | R rotate X mirror Ctrl+A Add component quick action Esc stop placing | poster |
| Add Power | P | schematic | Places power symbols (GND, +3V3, …) from the power library; every power symbol of the same name is the same net. | R rotate Esc stop placing | poster |
| Add Pin | — | schematic | In the symbol editor, click to drop a pin on the 50 mil grid; the next pin gets the next number and name (A1 → A2). | R rotate the pin Click place, then the next number Esc stop placing | poster |
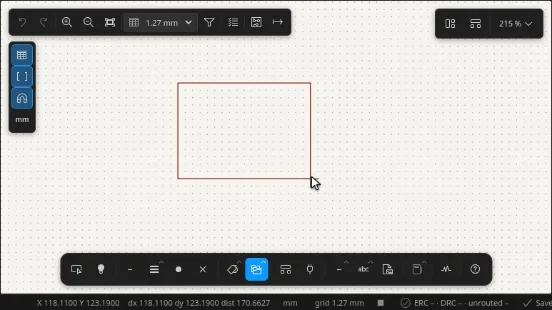
| Add Sheet | S | schematic | Click two corners to draw a hierarchical sheet, then name it and pick (or create) its file. | Click · Click corners Alt+Backspace leave a sub-sheet | poster |
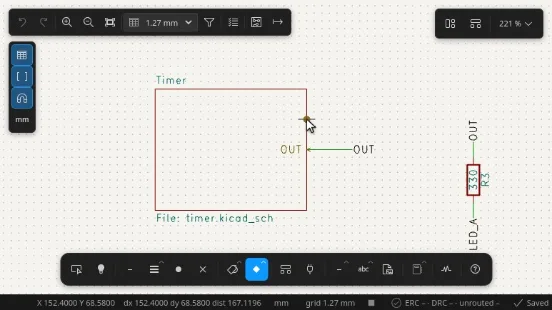
| Add Sheet Pin | — | schematic | Click a sheet border to add a pin; the dialog offers the sub-sheet’s hierarchical labels and adds a missing label inside. | Click a sheet border Esc back to select | poster |
Schematic graphics#
| Tool | Shortcut | Editor | Description | Keys while it runs | Clip |
|---|---|---|---|---|---|
| Add Lines | I | schematic | Graphic lines (no connectivity): click to chain segments, End to finish. | / switch segment posture Backspace delete the last point End finish | poster |
| Add Rectangle | — | schematic | Click two corners; stroke, colour and fill are in Properties. | Click · Click corners Esc cancel | poster |
| Add Circle | — | schematic | Click the centre, then a point on the circle. | Click · Click centre and radius Esc cancel | poster |
| Add Arc | — | schematic | Click the start, a point on the arc and the end. | Backspace delete the last point Esc cancel | poster |
| Add Polygon | — | schematic | Click the corners of a polyline; close it on the first point for a polygon. | Backspace delete the last point End finish | poster |
| Add Bézier Curve | — | schematic | Click the start, two control points and the end of a cubic curve. | Click ×4 start, controls, end Esc cancel | poster |
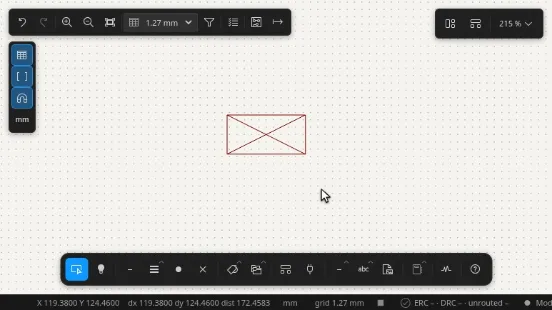
| Add Image | — | schematic | Pick a PNG and click to place it; the image is embedded in the schematic file. | Click place the image Esc cancel | poster |
Documentation#
| Tool | Shortcut | Editor | Description | Keys while it runs | Clip |
|---|---|---|---|---|---|
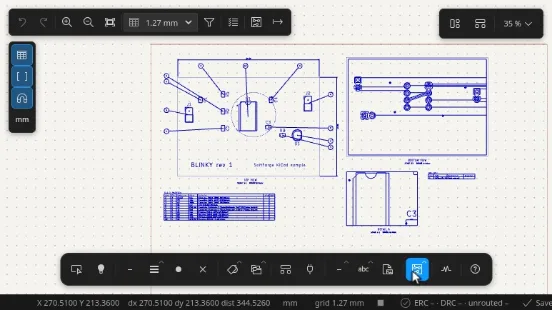
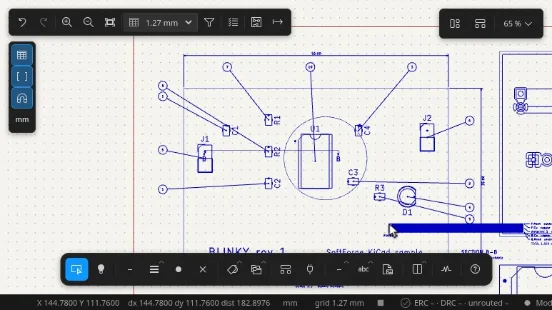
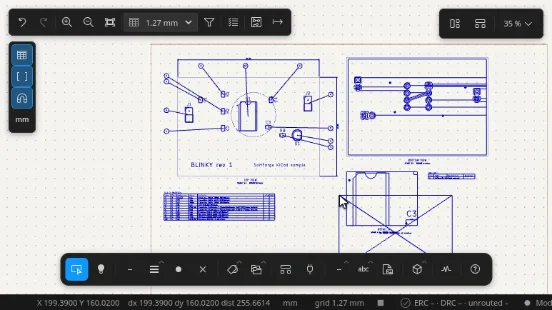
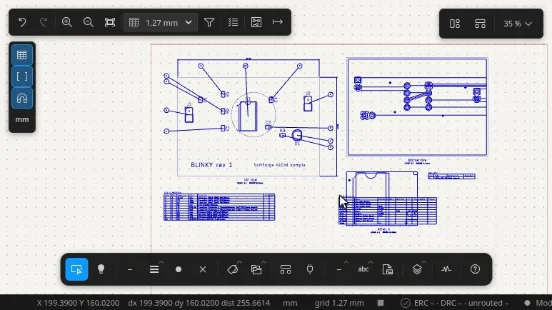
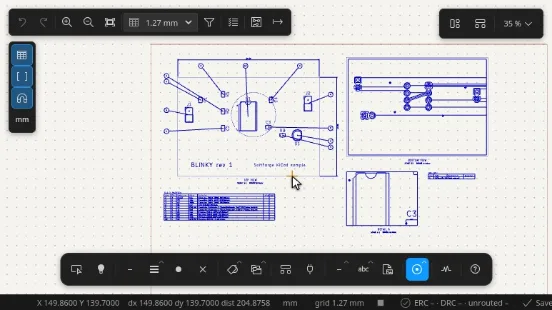
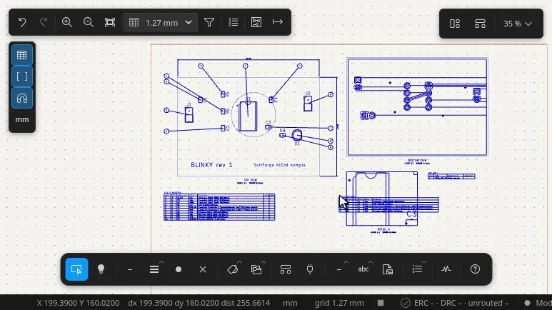
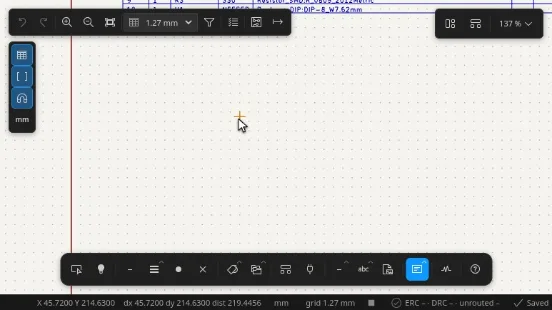
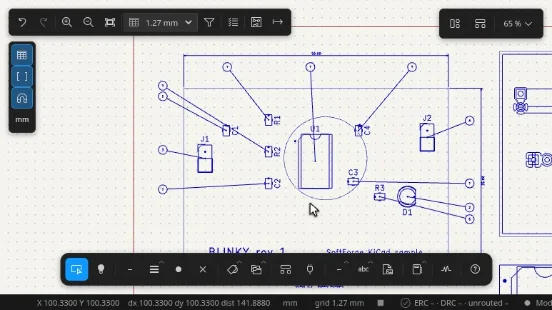
| Draft View | — | schematic | Inserts a top, bottom or fabrication view of the board: pick the type, style, scale and layers, then click on the sheet to place it. | Click place the view Esc cancel | poster |
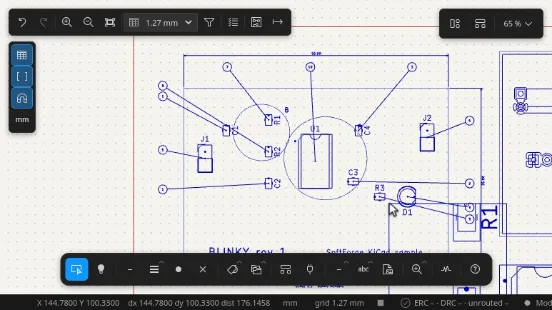
| Detail View | — | schematic | Drag a region on a draft view, then click where the enlarged detail goes; a callout circle marks the region on its view. | Drag the region on a view Click place the detail Esc cancel | poster |
| Section View | — | schematic | Click the two ends of the cut line on a draft view, then click where the section goes. | Click · Click the cut line on a view Click place the section Esc cancel | poster |
| 3D Render | — | schematic | Inserts a 3D render of the board from the chosen camera (iso, top, bottom, front, back, left, right); click on the sheet to place it. | Click place the render Esc cancel | poster |
| Layer Stack Table | — | schematic | Inserts the layer stack-up table from Board Setup; it regenerates when the stack-up changes. | Click place the table Esc cancel | poster |
| Drill Table | — | schematic | Inserts the drill table (one symbol per hole size and plating, counts and total) generated from the board. | Click place the table Esc cancel | poster |
| BOM Table | — | schematic | Inserts a bill of materials table: choose the scope, the grouping and the fields, then click on the sheet to place it. | Click place the table Esc cancel | poster |
| Balloon | — | schematic | Click a part in a draft view, then where the balloon goes: it is numbered with the part’s BOM line and its leader follows the part. | Click a part in a view Click place the balloon Esc cancel | poster |
| Auto-balloon | — | schematic | Balloons every part of the selected draft view (or the first one), numbered by the BOM, around the view. | — | poster |
| Dimension | — | schematic | Click two points on a draft view: the dimension shows the board distance at the view’s scale. | Click · Click the two points on a view Esc cancel | poster |
| Note | — | schematic | Click on the sheet to place a fabrication or assembly note; edit its text in the Documentation tab. | Click place the note Esc cancel | poster |
| Refresh All | — | schematic | Regenerates every view and table of the sheet from the board; stale badges clear. | — | poster |
Overlays#
| Tool | Shortcut | Editor | Description | Keys while it runs | Clip |
|---|---|---|---|---|---|
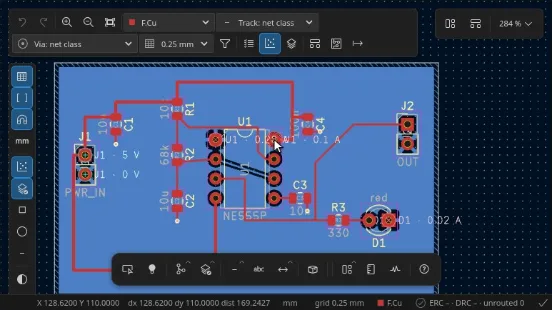
| Add Load Point | — | board | Click a pad to add a PDN load point there (current drawn from the pad’s net, edited in the SI/PI panel); Shift+click adds a source point with the voltage from the net name. Solve DC shows the IR drop and current density. | Click load point on a pad (0.1 A, edit in the panel) Shift+click source point (+5V → 5 V, GND → 0 V) Esc finish | poster |
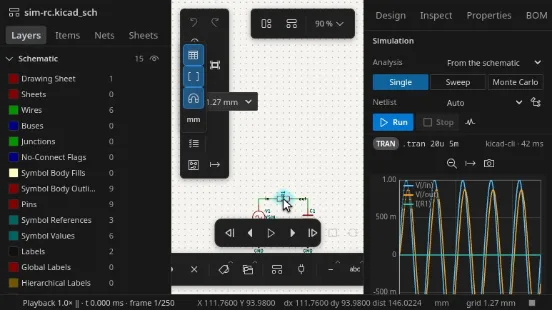
| Simulation Probe | — | schematic | Click a wire, label or pin to plot the net’s voltage in the Simulation panel, or a symbol to plot its current. | Click a net (voltage) or a symbol (current) Esc back to select | poster |
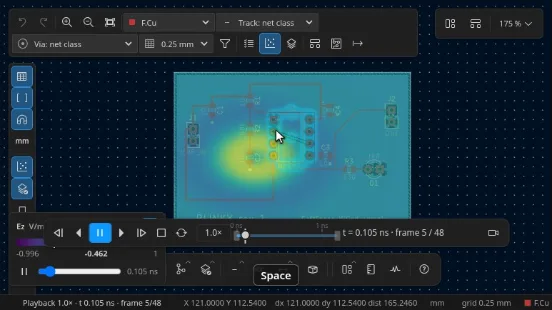
| Playback (Timeline) | — | both | Plays every time-bearing overlay of the board on one timeline docked above the tool bar: fields blend between frames, markers and geometry follow. The keys work while the canvas or the bar has focus and no drawing tool is busy. | Space play / pause ← · → step one frame (Shift: ten) Home · End start / end of the range L · Shift+L loop on / off J · K · ; shuttle back / pause / forward (again: faster) [ · ] in / out point at the playhead | poster |
Constraints#
| Tool | Shortcut | Editor | Description | Keys while it runs | Clip |
|---|---|---|---|---|---|
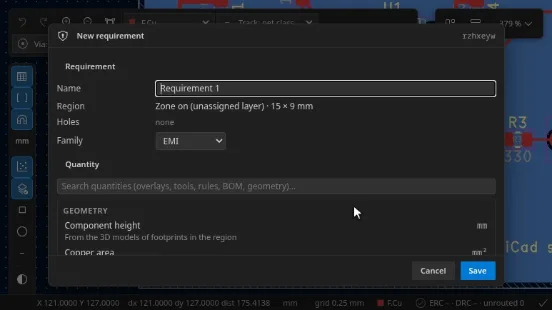
| Draw Constraint Zone | — | board | Draws a constraint zone (polygon, rectangle, circle, from a footprint courtyard or from a net) and opens the requirement editor for it. The zone is saved as a KiCad rule area on the family’s constraint layer. | Tab polygon / rectangle / circle / courtyard / net Backspace remove the last corner End close the polygon Esc cancel the outline | poster |
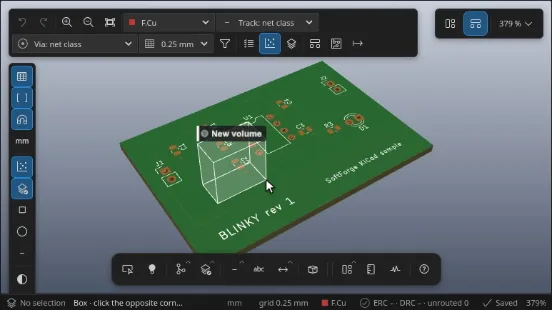
| Draw Constraint Volume | — | board | Draws a requirement volume in the 3D view: a box (two corners, then the height), a sphere (centre, then the radius) or a slab above a footprint courtyard, a zone or the board. The requirement editor opens for it; the volume is saved in the requirements file. | Tab box / sphere / slab Shift+drag move an edited volume in z Esc cancel the volume | poster |
View and inspect#
| Tool | Shortcut | Editor | Description | Keys while it runs | Clip |
|---|---|---|---|---|---|
| Highlight Net | — | both | Click copper or a wire to highlight its whole net and dim the rest; the other editor highlights the same net (cross-probe). | ` highlight the net under the cursor ~ clear the highlight Esc clear, then back to select | poster |
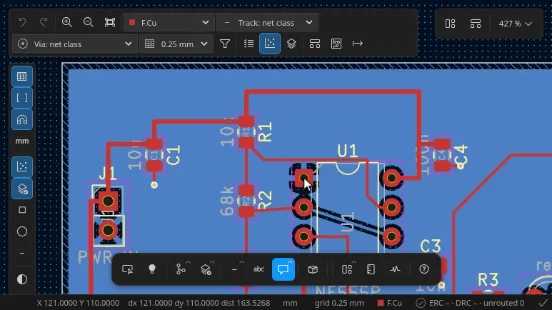
| Comment Pin | — | both | Click an item to start a comment thread anchored to it (the thread follows the item when it moves), or click empty canvas to pin it to a point. | Click item or point, then type the comment @ mention someone or @agent Ctrl+Enter post Esc cancel | poster |
| Comment Region | — | both | Drag a rectangle around an area to start a comment thread about the region (clearances, a crowded corner, a keepout). | Drag the region Ctrl+Enter post the comment Esc cancel | poster |